Thursday, October 28, 2010

A Special Gift!

I've known Stef since I was 3 years old. She's is, in fact, my oldest friend (time, not age ;-)) She got married last summer and promptly moved out of the country, so they haven't had a chance to print wedding pictures. For their anniversary, I had some pictures printed and put it in a multi-photo frame.

When a friend mentioned a folded album , I thought "Well, I want to try the album and I have lots of extra wedding pictures!"
And so this album was born.
It took me two hours, start to finish, for the entire album.
It doesn't hurt that they are an incredibly gorgeous couple who picked gorgeous wedding colors!!

I was able to embellish both the front folds and the backs. They had some beautiful photos of their day!

And it just arrived (having been shipped about three weeks ago!!) at their doorstep yesterday! Stef and Nick, I hope you enjoy your pocket album!
Posted by Picasa

Monday, October 4, 2010

Mmm Recipe time!

The weather here is *finally* getting cooler and that means it's time to bust out the soup and crock pot recipes! Yay!My first choice when we got home from vacation was a recipe a friend told me about awhile ago (Thanks, Stacy!!) Lasagna Stoup!
Start with 1lb ground beef and saute until browned. Mix in onion, carrot (and I added green peppers because nothing is "Italian" to me w/o peppers!).
Saute that for a few minutes with the meat.

Then add in a bit of water and chicken broth.

Add 1 lg can of crushed tomatoes and bring to a boil.

Put in 1lb of broken lasagna noodles (I recommend breaking them smaller than I did - we needed forks to eat that part :-) For some reason I had it in my head they were supposed to be 1" sections -- who knows why :-)
Tear and add 1 cup of fresh basil leaves.

Serve with a dollop of Ricotta cheese and parmesan cheese to top.
Here is the "official" recipe (for those like me that must follow recipes exactly)

 Lasagna Stoup

2 Tbls EVOO
1 lb ground beef sirloin
salt & pepper

1 large onion, finely chopped
2 carrots, grated
3-4 cloves garlic, finely chopped
32oz (4 cups) chicken broth
2 C water
28oz can Italian crushed tomatoes
1lb lasagna noodles, broken in to jagged pieces
1 C basil leaves, torn
1 C whole milk ricotta
grated parmigiano-reggiano cheese

1. In a soup pot, heat the EVOO over medium-high heat. Add beef, season with salt and pepper and cook unil browned. 3-4 mins. Stir in onion, carrots and garlic. Cook until softened, 5-7 mins. Stir in 2 cups water, chicken broth and tomatoes. Cover and bring to a boil. Add the pasta and cook until al dente, about 15 mins. Stir in basil and season with salt and pepper.

2. Serve in bowls and dollop with ricotta. Pass parm at the table.

All in all, this got rave reviews from my family, except that we all felt there was *some* flavor missing. I will definitely be making this again, so hopefully we can figure out what we were missing this time! Awesome recipe for a cold fall day - comfort food at it's best, that's for sure! Thanks again, Stacy!
Posted by Picasa

Wednesday, September 22, 2010

Birthday card barrage!

September is a BUSY month for us, birthday-wise. I had10 birthdays to prepare for! And so I made all the cards ahead of time (which doesn't mean I've sent them OUT on time, but that's another issue for another blog ;-))

Here are two of the designs I'm sending. I have a few more up my sleeve for another day :-)

The "Celebrate" comes from the Celebrations cartridge on the Cricut.


Posted by Picasa

Sunday, September 19, 2010

Food Obsession: Chocolate Covered Peanuts

I have a small addiction to chocolate covered peanuts.
Before I got pregnant, I was doing Weight Watchers. I realized I had no way to gauge my peanut treat intake if I didn't strictly measure my peanut clusters. So I bought a mini muffin tin, weighed out my peanuts and put in a precise amount of chocolate/butterscotch mixture. My points value (depending on the methods I used) came out to be between 2-3 pts per cluster. WORTH it :-)

Here's my muffin tin full of peanuts, just waiting for the oozy chocolate/butterscotch mix.

I always melt my chocolate over a double boiler, not in the microwave. I just like the way it turns out better. And if you can get your hands on a *glass* bowl, those work better than metal. If you can't get glass, plastic works too. Metal seems to get too hot and can seize up your chocolate. Be sure when using a double boiler that you don't get ANY WATER in your chips! Mix well while it's melting, because the chips won't change shape until you do - and you risk scorching it!

Filling the cups - almost there!

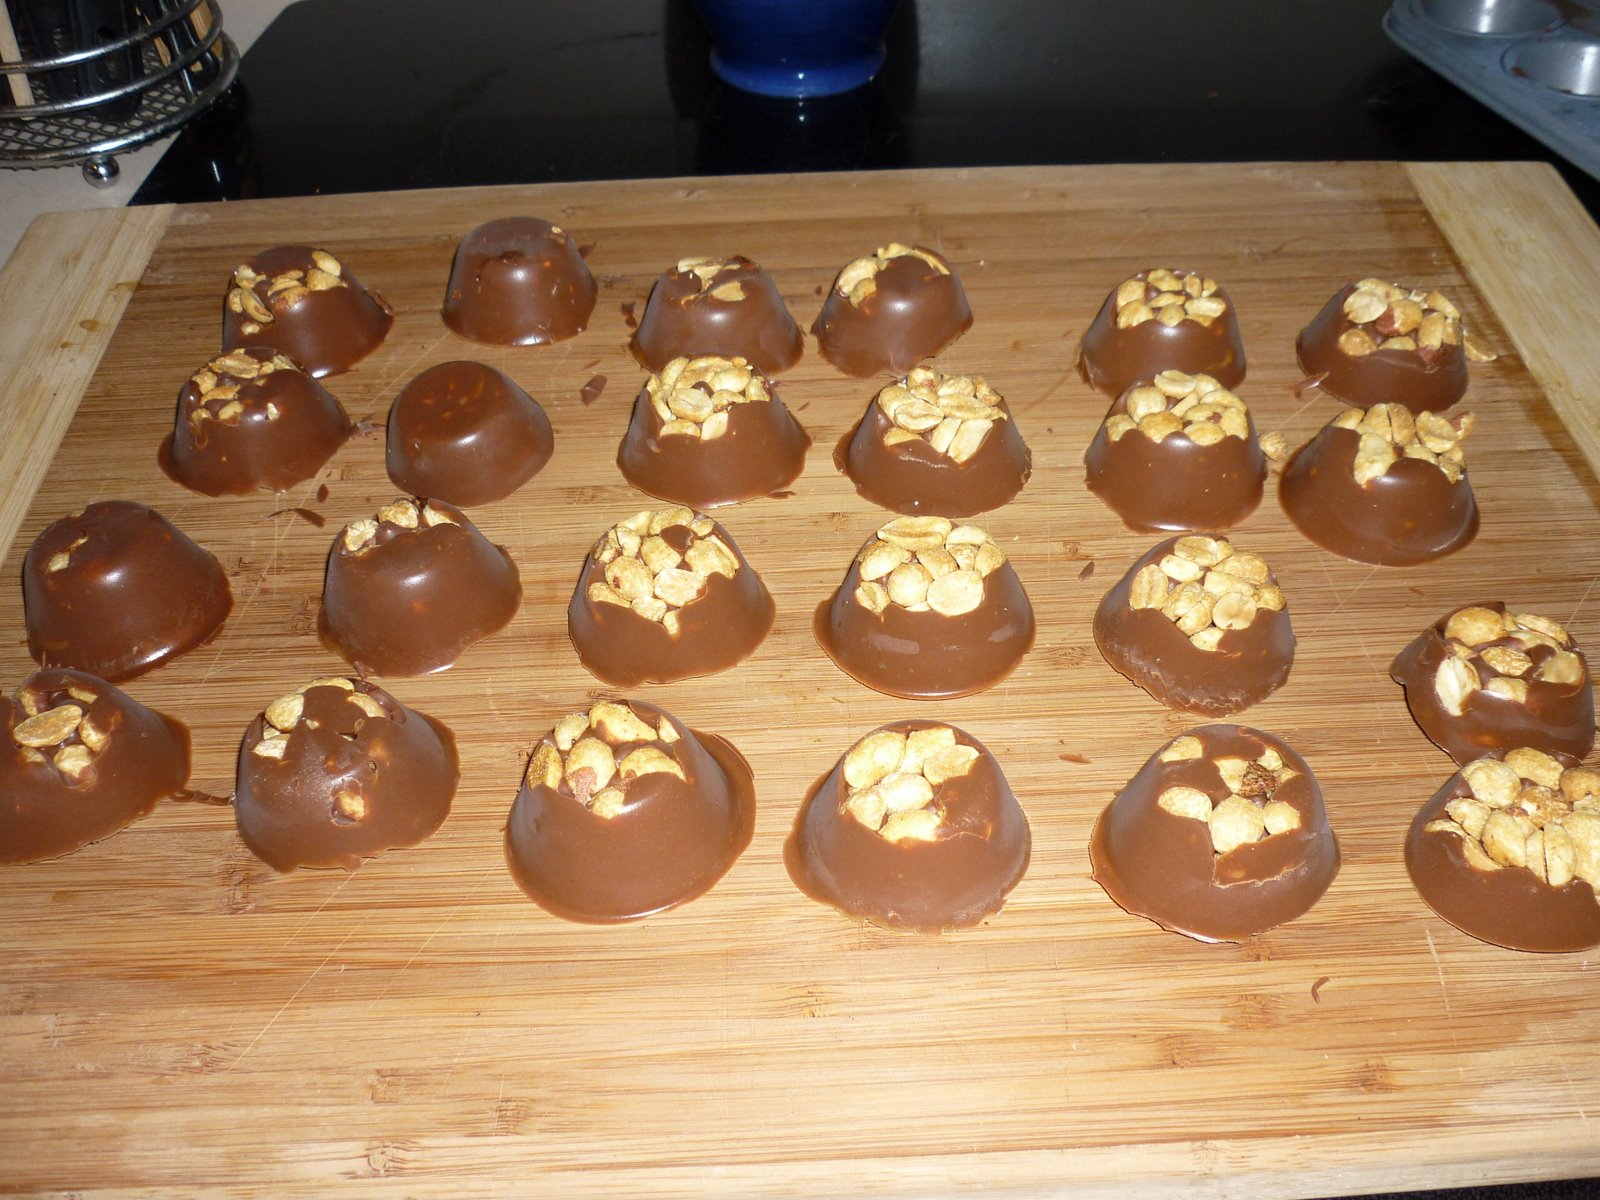
I pop mine in the deep freezer for a short amount of time (usually because I don't care if they're set before I start eating them ;-)) and then you can just pop them out onto a large cutting board or your counter!


You can make them "prettier" if you mix the chocolate and peanuts together, then put them in the cups. However, as I mentioned, these are the WW version :-)
 

My Recipe: 

3 oz lightly salted peanuts
10oz chocolate/butterscotch chips - I prefer about a 60/40 mix chocolate to butterscotch, but play with these numbers for yourself (you WILL make them more than once - they are addictive!)

This makes 18-2pt snacks. 


Sunday, September 12, 2010

It's APPLE TIME!

I never went apple picking as a kid. It's something that started when my husband and I got married. His favorite dessert is a homemade apple pie and his birthday is late September, so we always go around his birthday to pick our own apples for his birthday pie.

We went earlier this year, because the weather permitted. We left with 15lbs of apples! I made pie a few weeks ago (not a stellar job and I have enough apples, I may just try to redeem myself before his birthday rolls around!) but in my prengnacy haze, I have been CRAVING an apple fritter.

The *best* apple fritters from from Patterson's Fruit Farm in Ohio. However, I live in Missouri now, and that's a LONG drive for what is essentially a doughnut :-) So I scoured the internet for a recipe. I landed on this one from The Picky Apple.


I have LOTS of apples left, and I wanted to use one Jonathan and one Golden Delicious, so I doubled her recipe. I also added WAY more cinnamon than the recipe calls for. Hubby loves cinnamon-apple and preferred it with a bit more "spice".


Here's my bowl of batter (sorry, I'm trying to get better about taking pictures at each step, but I was so excited to eat them, I forgot to take more pictures :-)
Mmmmm wouldn't be a real doughnut/fritter if I didn't fry it.

And a bit of icing. Mmmmmmmm.

And you'll be thrilled to know, they reheat well (toasted in a toaster oven) for dessert that same night ;-)

Saturday, August 21, 2010

My new favorite side dish.

A friend told me about this recipe from the Pioneer Woman. And I'm addicted!

Plus, I've found a farmer's market near our house where I can buy the small red potatoes for $0.75/lb! Mmmm. I always use at LEAST 2lbs of potatoes for my family of 2.5 people :-)


Wash your red potatoes.
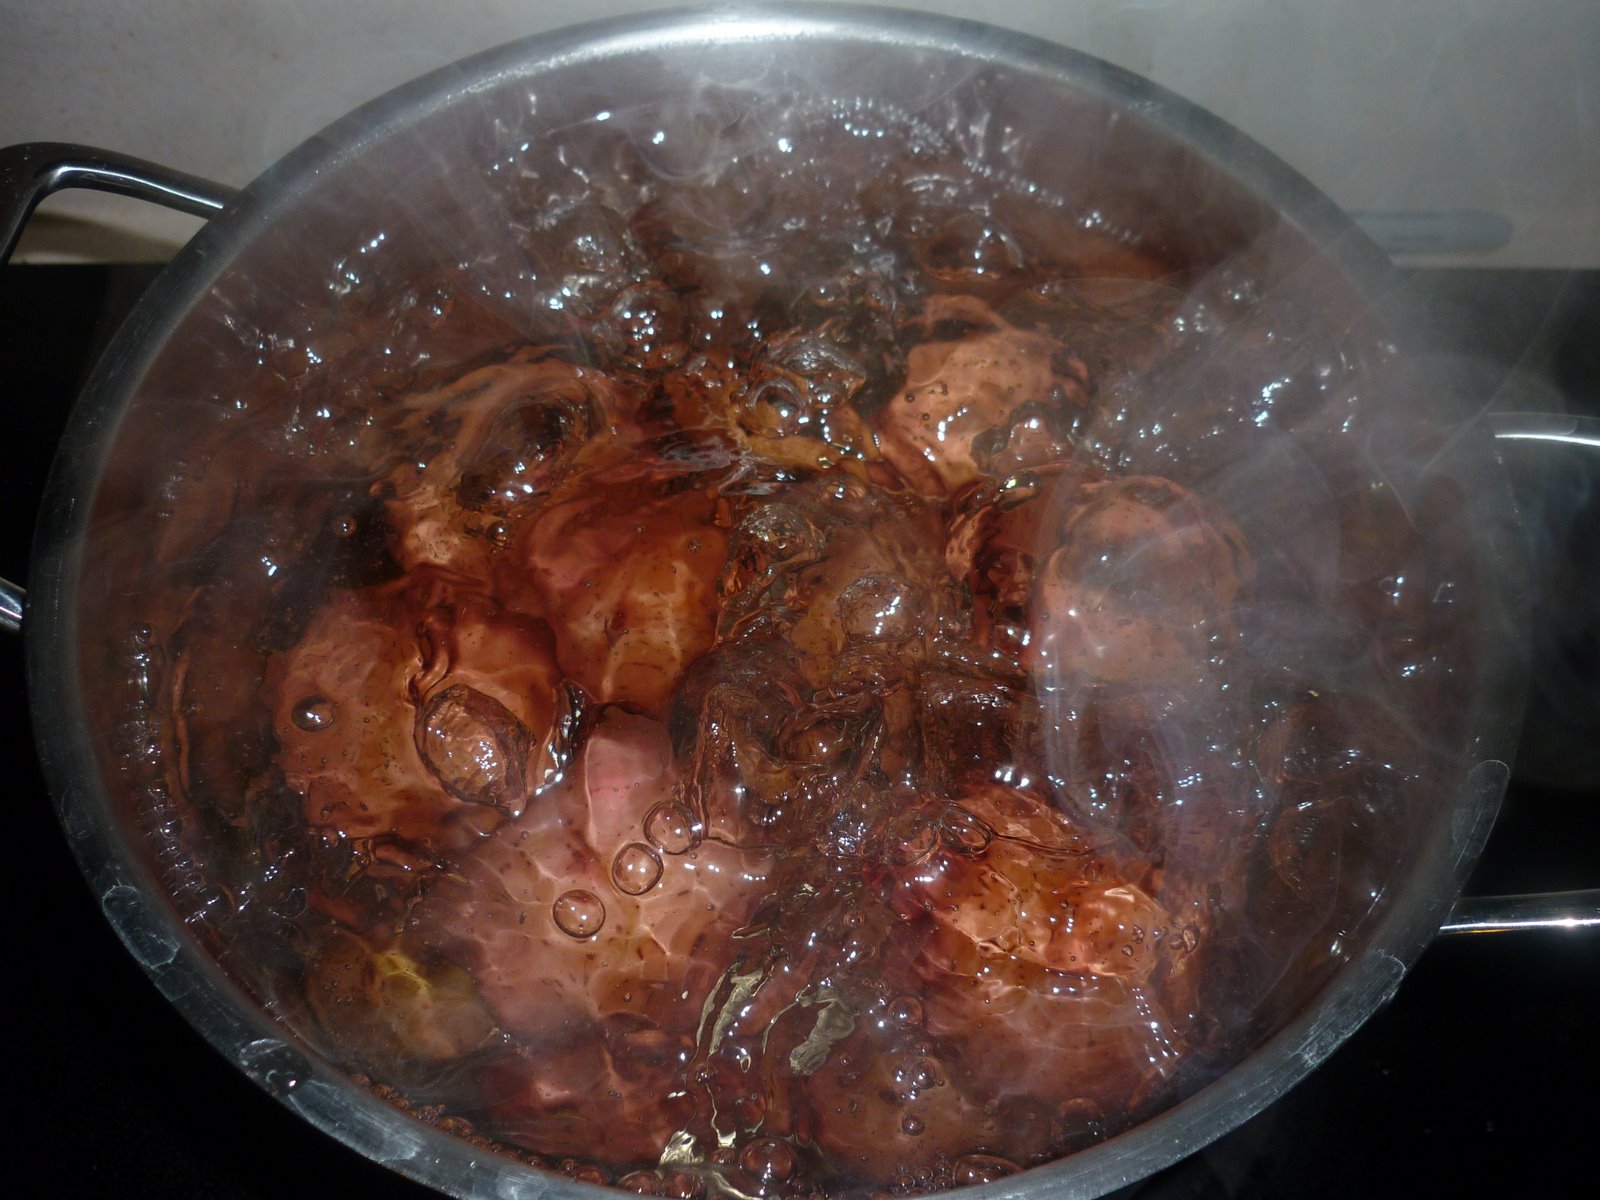
Boil them until they are tender.
Liberally olive oil a cookie sheet. Put the potatoes down, a few inches apart, and smash. (PW suggests a potato masher. I don't have one *birthday list!* but I've found a metal mallet works best for me. The glass just smashed them too much, with no texture).

Put olive oil, kosher salt, fresh cracked pepper and your choice of herb on top. My kiddo loves to help with the "sprinkling" part!

There's a few steps in between, but I wanted to showcase my fresh-from-the-garden Rosemary! Mmm.
Put them into the oven on 450 degrees for 20-25 min (I usually put mine in for 30 because I like extra crispy potatoes!)

This is always the last step I can get a picture - when they come out of the oven, it's all I can do not to gobble them up straight off of the cookie sheet!

Monday, July 12, 2010

"Recycling" crayons

Do your kids collect restaurant crayons like mine does? Or break her good Crayolas regularly?  I have been hanging onto them for an unknown reason, until I realized we could recycle them!

I decided to melt them down and give them as part of E's "treat bags" for her BFF birthday party!

Some of them were very beautiful on the bottom. 

But I haven't figured out how to make the TOPS beautiful yet :-)


All we did was take the paper off of the crayons and put them in silicone muffin cups (I don't like them to bake with, so they were donated to the arts this week.)  I put them in our toaster oven on 250 until they were all melted (about 25 minutes).  Let them cool and pop them out - voila! Recycled crayons!